Setting up a simple retention bake test at home: a practical plan for charge trap samples
A workable bake plan for nitride trapping samples, from picking temperatures and handling coupons to keeping time stamps that survive a second pair of eyes.
A retention bake is the cheapest experiment in charge trap flash work and the easiest one to get wrong. You do not need a full lab to run a useful one. A stable oven, a handful of samples, a logbook, and a habit of writing things down at the same moment every time will get you data you can defend. This guide is for readers who have a few TANOS or nitride-only coupons on hand and want to see how the programmed window moves over days and weeks. We walk through the plan we use ourselves, including the parts that tripped us up, and point to our sealing layer results for what the curves can look like.
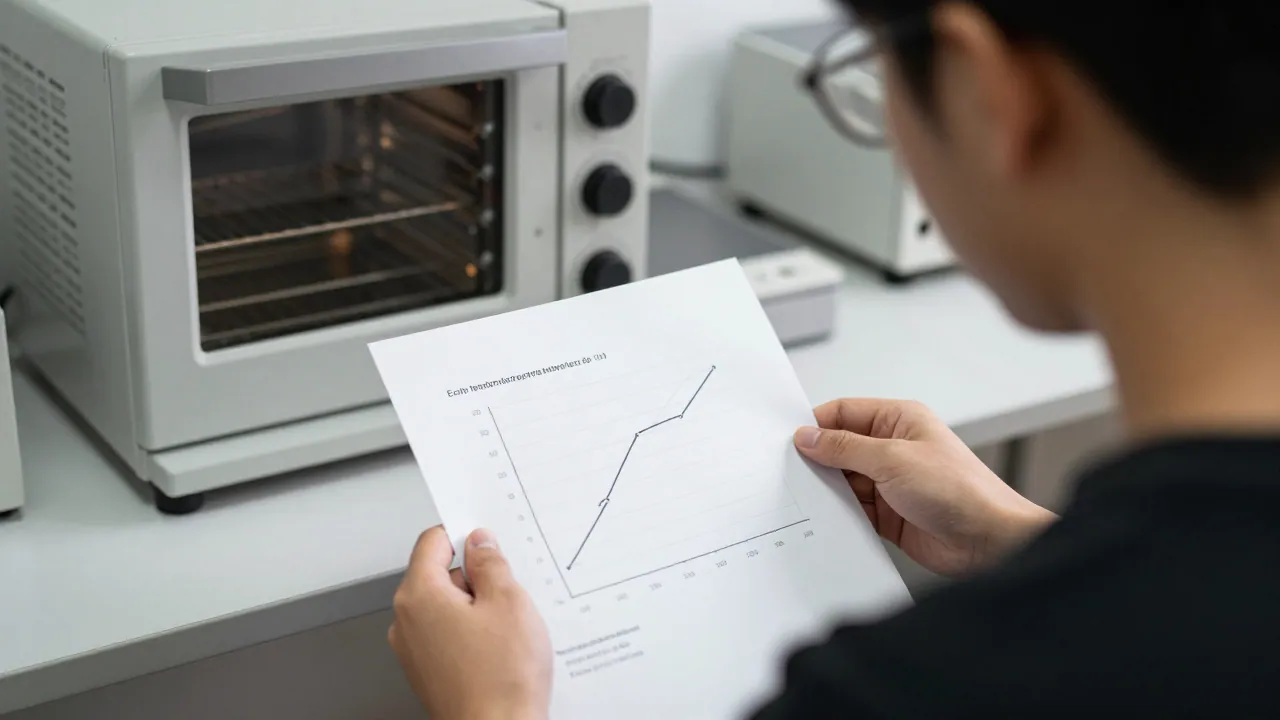
Before you start, decide what question the bake is meant to answer. A retention bake compares the programmed window at time zero with the window after a known thermal stress. If you change two things at once, such as temperature and sample handling, you learn less than you hoped. Write the question on the first page of the logbook: for example, does the sealing layer slow the window loss at 150 °C over 48 hours. Keep it that narrow.
What you need before the oven goes on
- A convection or forced-air oven that holds its setpoint within a couple of degrees and has been checked with an independent probe
- At least three coupons per condition, so one odd sample does not decide the answer
- A programmable source measure unit or a bench setup you already trust for program and read
- A metal or ceramic carrier tray that will not outgas at your top temperature
- Anti-static tweezers and powder-free gloves
- A logbook with pre-printed columns for time out, time in, temperature, and operator
- A permanent marker plus a second, independent label method such as a scribed number on the carrier
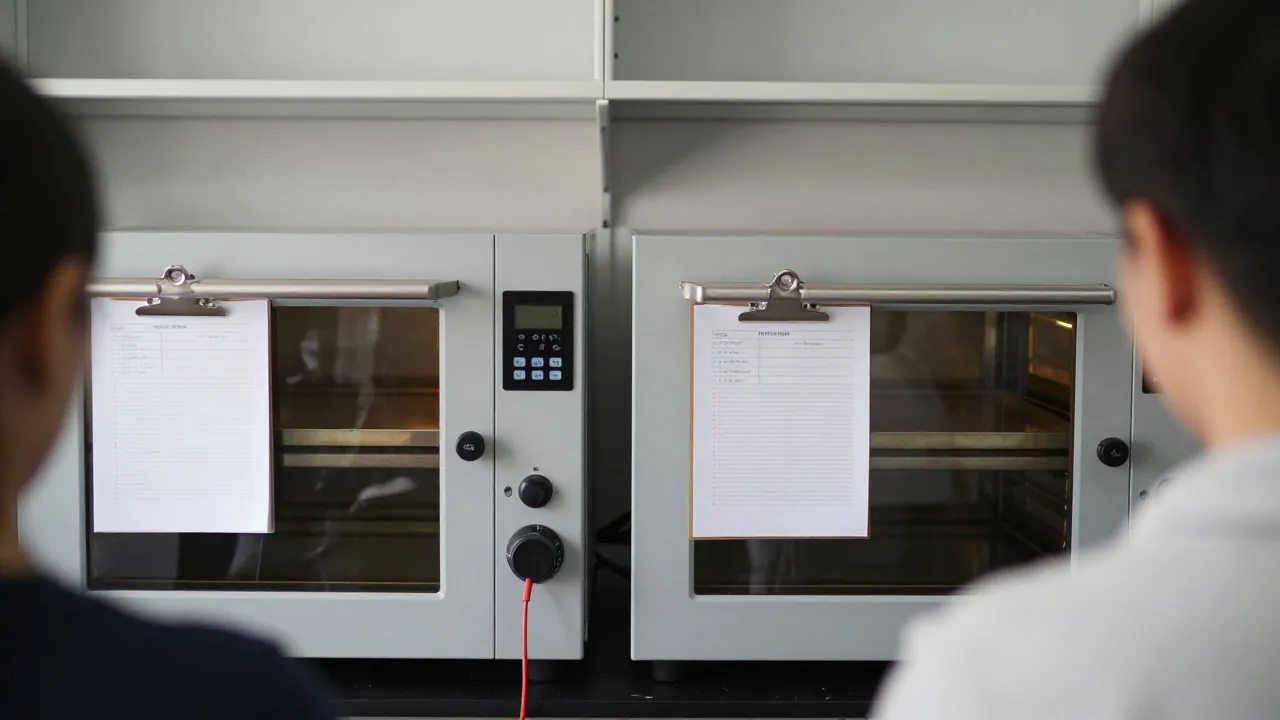
We check the oven against a separate thermocouple on the tray, not just the front panel display. The difference is usually small, but on one older unit here it was six degrees at the tray corner, which is enough to matter. If you have never read a retention curve and want to know what the numbers mean physically, our note on trap energy depth is the place to start.
Choosing temperatures and the bake schedule
The usual temptation is to bake hot to save time. Hot bakes accelerate the loss, but they can also push the sample into a regime that is not representative of what you care about. Pick one temperature close to your use case and one or two above it, then stop. Two temperatures run well beat four run badly.
| Condition | Setpoint | Typical duration | What it tells you |
|---|---|---|---|
| Mild | 85 °C | 24 to 168 h | Slow drift, closest to real use |
| Middle | 125 °C | 24 to 48 h | Comparable across lots, our usual default |
| Stress | 150 °C | 4 to 24 h | Fast ranking, watch for handling artifacts |
Time zero matters as much as time in the oven. Measure the programmed window on every coupon before the tray goes in, and note the clock reading. If you program, then talk for twenty minutes, then bake, your zero is not a zero. We now program, read, and load within one short block and write down the time the door closed.
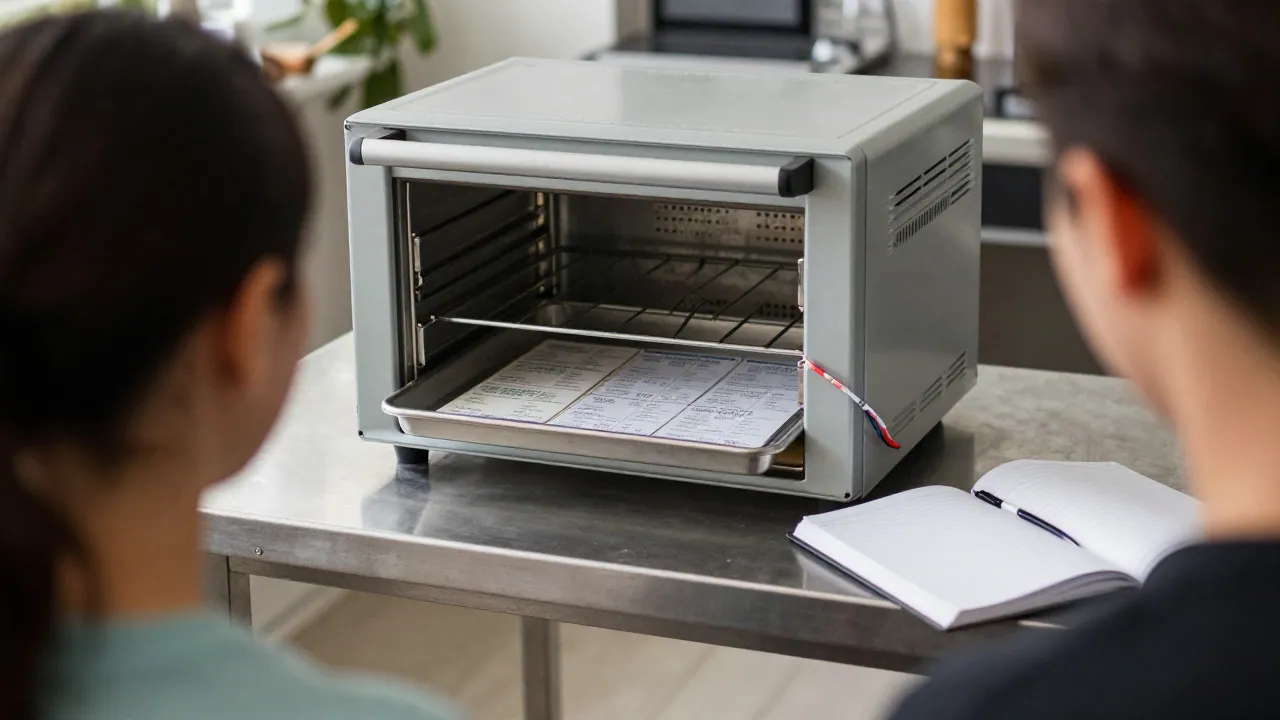
Sample handling that survives a second look
Charge trap samples are not fragile, but they are easy to contaminate. Handle coupons by the edges only, with gloves, and keep the same tray for the whole run. Moving samples between trays in the middle of a bake adds a thermal cycle you cannot easily account for later. If you must move them, log it.
- Label every coupon twice. Marker on the back fades at 150 °C; a scribed number on the carrier does not.
- Program and read all coupons, then write time zero in the logbook with the actual clock time.
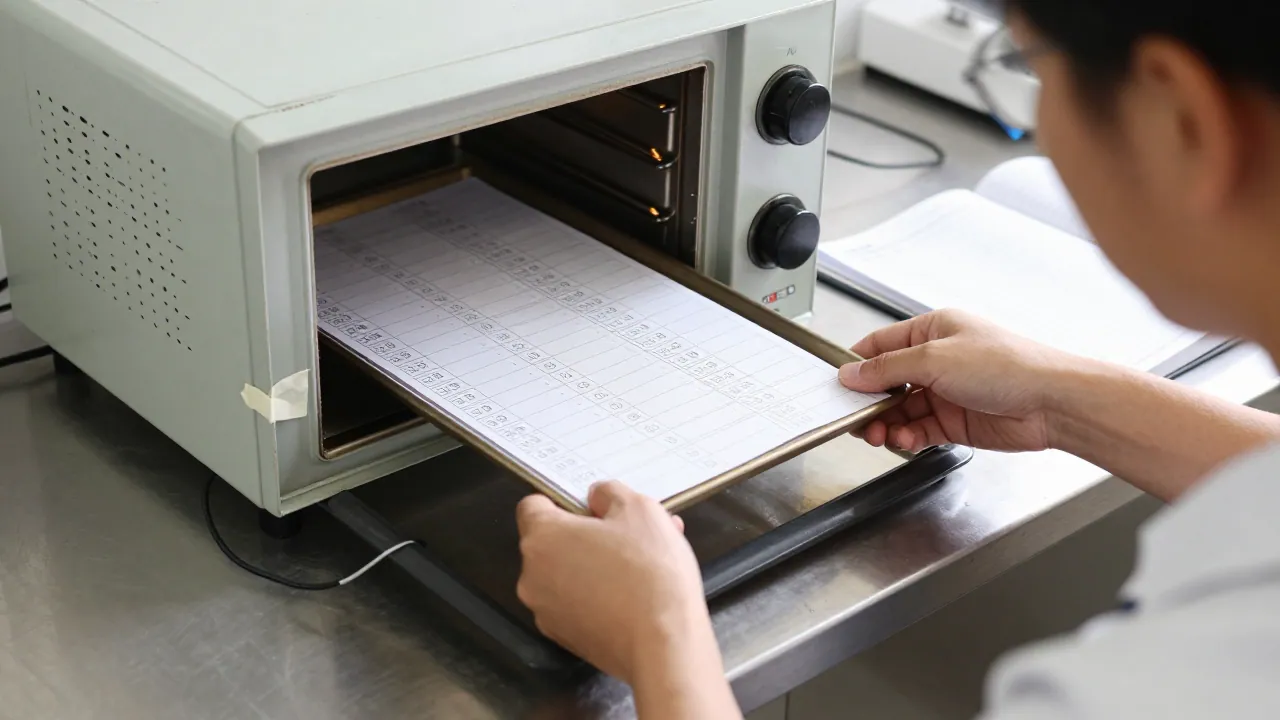
- Load the tray on the middle shelf and close the door. Write the door-closed time.
- At each pull point, take the tray out to the cooling mat, log the time, and let it settle to room temperature before measuring.
- Read the window, enter values in the log, and return the tray within a minute or two. Log the door-open time as well.
- Repeat at your planned pull points, then keep the full log with the raw readings.
We pull at 1, 4, 24, and 48 hours for a short run, and add a one-week point when the oven is free. Pulling mid-bake costs a little thermal stability, so keep the interruption short and identical each time. That consistency is more valuable than any single reading. It is also why we check numbers twice before any of this goes into a note.
Recording time stamps the same way every time
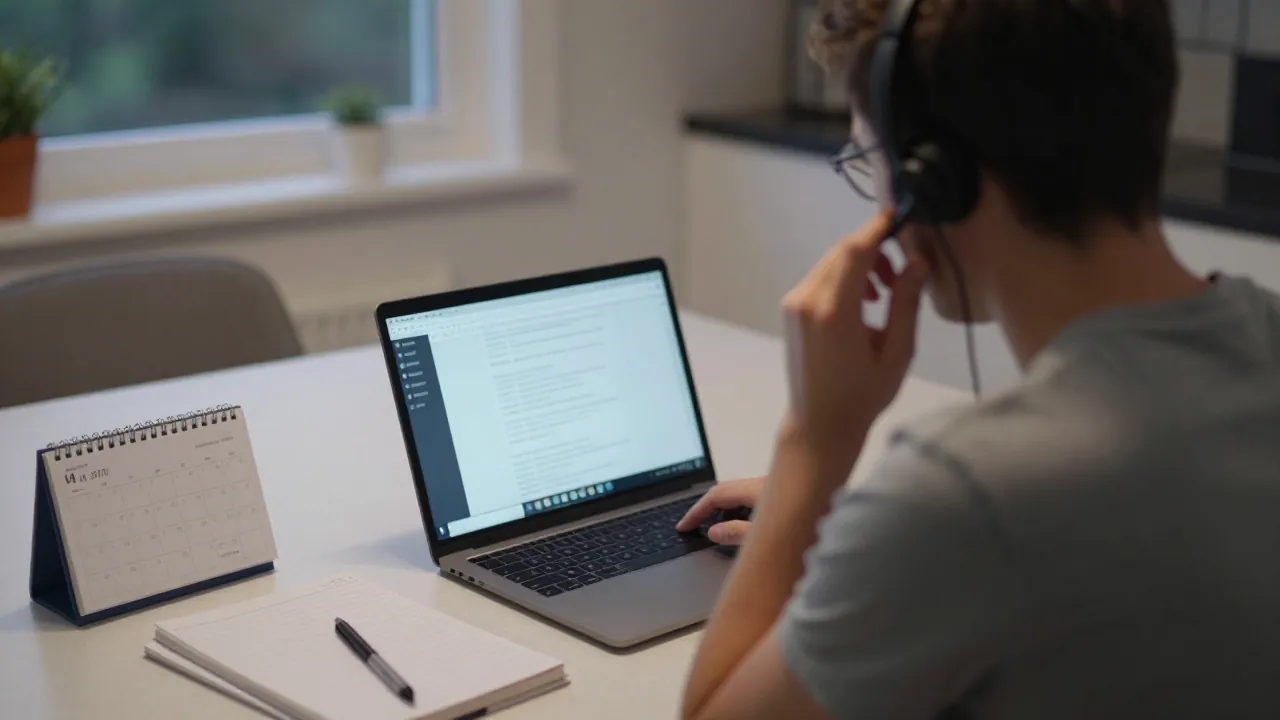
Retention data falls apart when the time base is sloppy. Agree on one clock before you begin, and use it for everything: program, door close, door open, and read. Do not mix the oven timer, your watch, and the wall clock. A single phone with the stopwatch running is enough.
- One clock, one person responsible for writing times
- Times written as hours and minutes since time zero, not as clock readings, in the analysis sheet
- Door-open and door-closed times on every pull, so cooling time stays visible
- Temperature recorded at pull, not only the setpoint
- Operator initials on every block, so an odd point can be traced back
We compare temperatures across many samples, so a shared time base has become a habit. The same discipline came up when we compared trap layers across three lots; the lots that looked different on paper mostly differed in how they had been logged.
Common mistakes and what tripped us up
- Forgetting a time-zero read: without it, everything after is a number without a reference
- Pulling samples at slightly different shelf positions and calling them the same condition
- Letting coupons cool on the bench at different rates, which shifts the read
- Writing times as clock readings that cross midnight, then misreading them in the sheet
- Losing the label on the back of the coupon after two bakes
- Assuming an empty-oven check is the same as a loaded-oven check
Our first bake looked fine until we noticed the zero-time reads had been taken over half an hour. We threw the run out and started again with a stricter window.
One more habit worth building: keep a small written summary next to the log with the conditions, the question, and a line on what surprised you. It makes the next run faster, and it gives anyone reading the raw log a way in. If you would rather see how we present results to a wider group, the monthly online seminar is where the discussion usually lands.
Questions people ask
How many samples do I need for a bake test?
At least three coupons per condition, and ideally more at the top temperature. One sample cannot separate a real effect from a handling mistake, and the spread between coupons is often the largest number in the whole run.
Can I bake at a higher temperature to save time?
Only if you say so in the question. Hot bakes rank samples quickly but can move the loss into a regime that differs from use. Keep one milder condition alongside the hot one so you can see whether the ranking holds.
What if a sample is read at the wrong time?
Log the actual pull time and keep the point. Correcting the clock after the fact loses the information. In analysis, plot against real elapsed hours rather than the planned schedule, and the data still tells you something.